Step 1: Search for a Domain
-
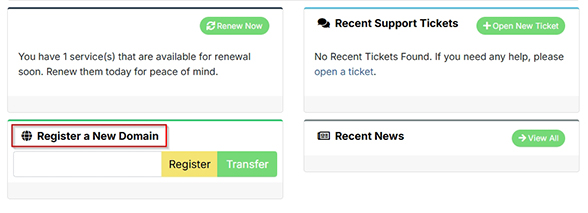
From your dashboard or the homepage, locate the domain search bar.
-
Enter your desired domain name (e.g.,
myawesomebusiness). -
Select the Top-Level Domain (TLD) from the dropdown (e.g.,
.com,.net,.online). -
Click the "Search" or "Register" button.
Step 2: Select and Add to Cart
-
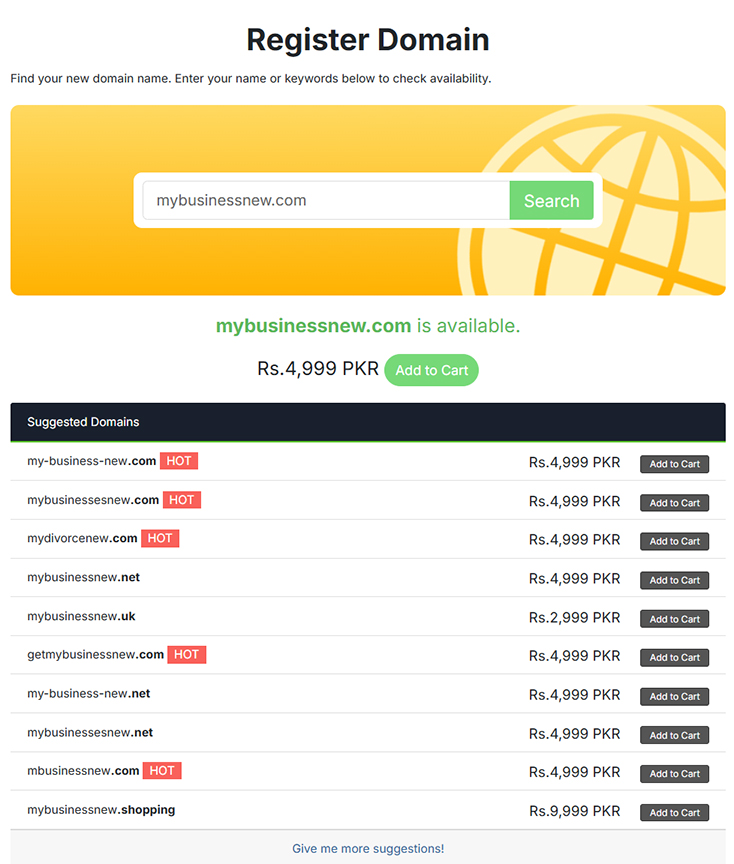
The system will check the availability of your domain.
-
If available, it will be displayed. You can then click "Add to Cart".
-
If the domain is taken, you will be shown alternative suggestions.
Step 3: Review Your Cart & Checkout
-
Your shopping cart will contain your selected domain. Review the items, pricing, and registration period (e.g., 1 year, 2 years).
-
If everything is correct, proceed to "Checkout", you will be redirected to next page.
-
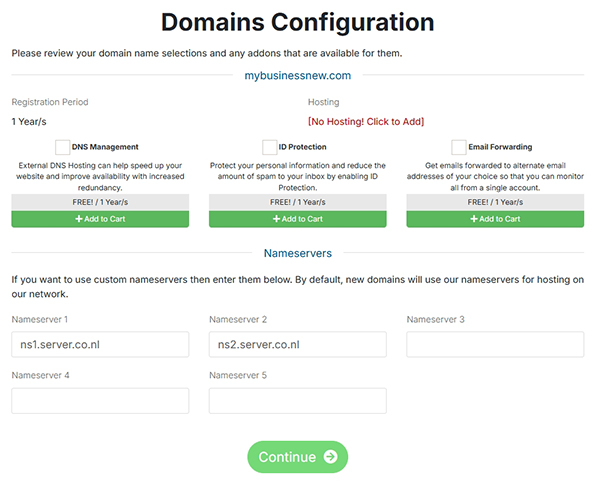
Please review your domain name selections and any addons that are available for them.
-
If you want to use custom nameservers then enter them below. By default, new domains will use our nameservers for hosting on our network.
- In the last click on Continue you will be redirected to next page.
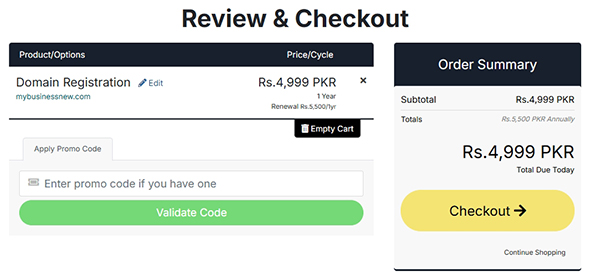
Step 4: Checkout Process
-
On this page you may apply promo code (if you have), then click on Checkout Button:
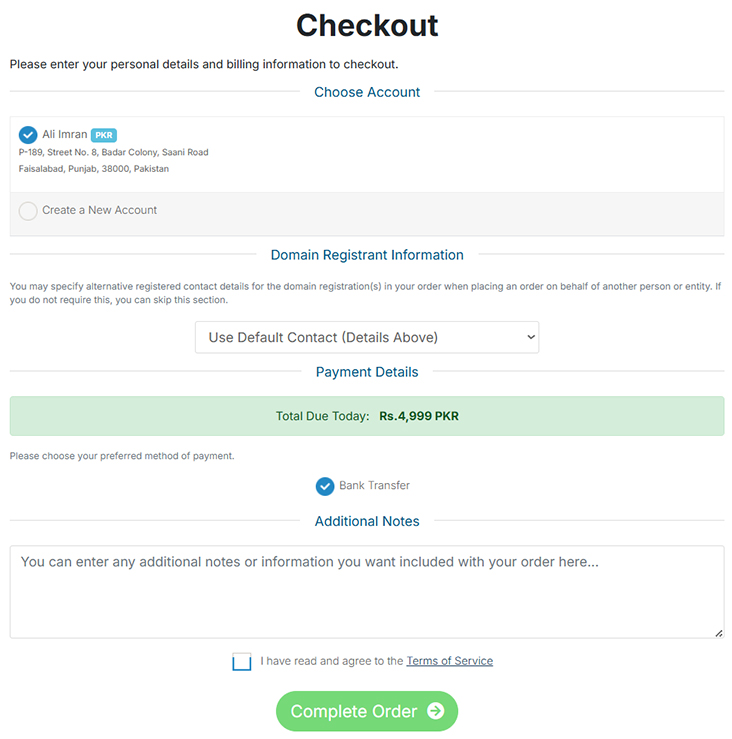
Step 5: Complete the Purchase
On the checkout page, you may need to:
-
Confirm your contact information.
-
Choose a payment method (e.g., Credit/Debit Card, PayPal, Bank Transfer).
-
Review and agree to the Terms of Service.
-
Finally, click the "Complete Order" button to finalize the purchase.
-
After successful payment, your domain and hosting service will be activated, and you will be able to manage them from your client area dashboard.